- Locate the Carer/Client Record:
- Use the quick search to locate the relevant Carer/Client record.
- Using the Contact ID is preferable, but you can also search by name.

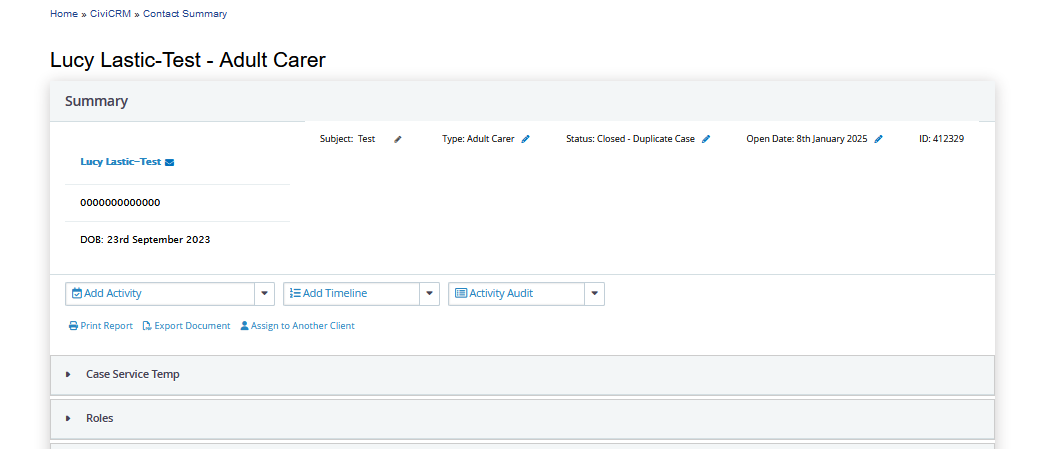
- Navigate to the Contact Summary Page:
- From the search results, select the contact from the drop-down to open their Contact Summary Page.
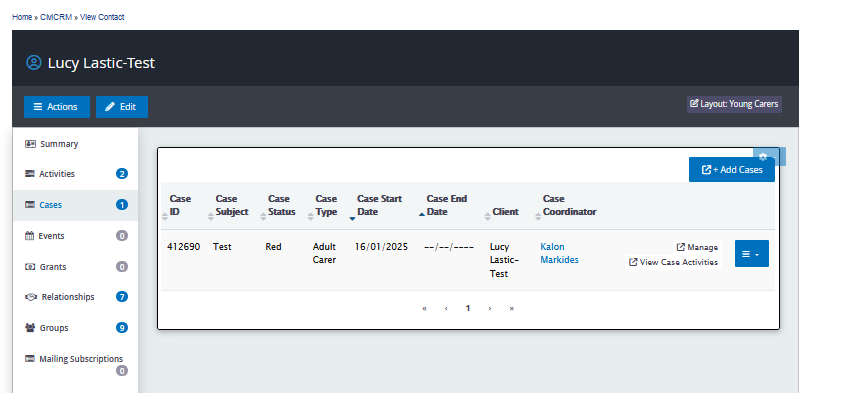
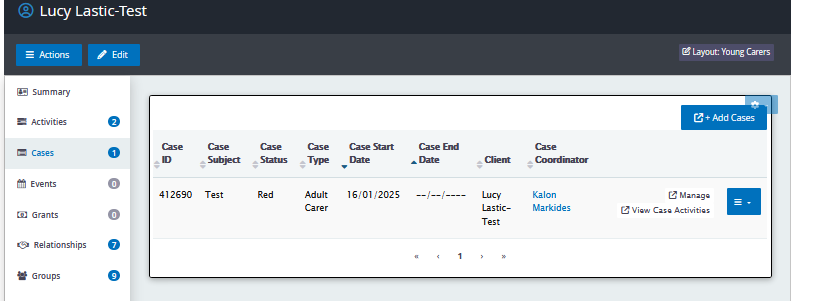
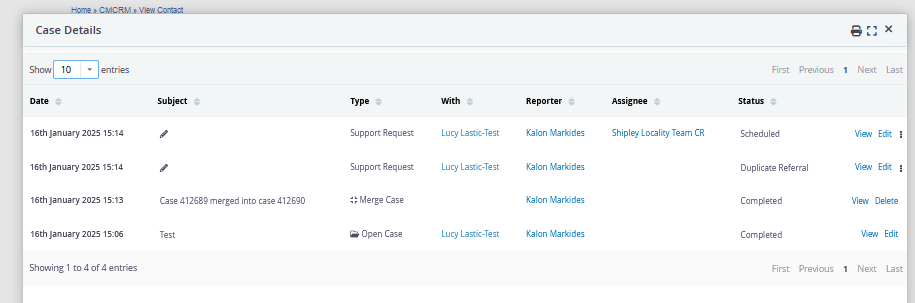
- Access the "Cases" Tab:
- Once on the summary page, navigate to the "Cases" tab in the left-hand menu.
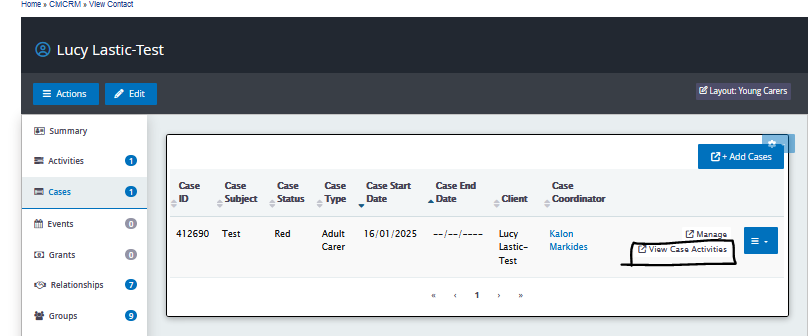
- Click the "View Case Activities" button.
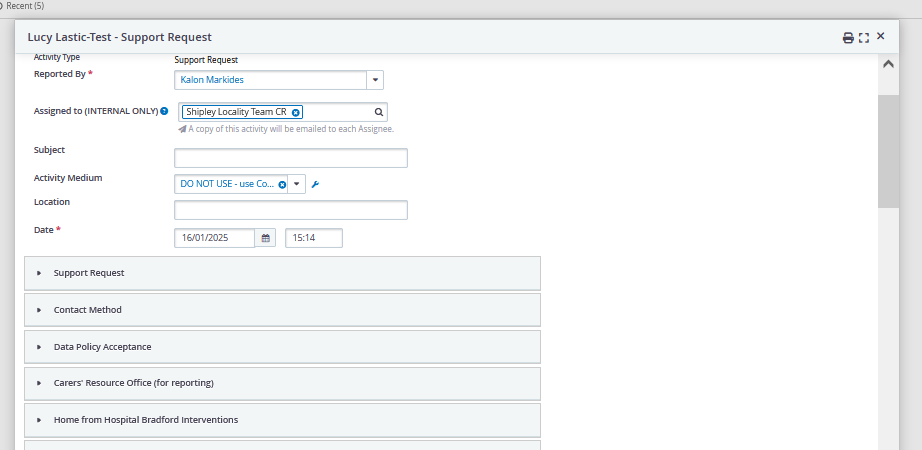
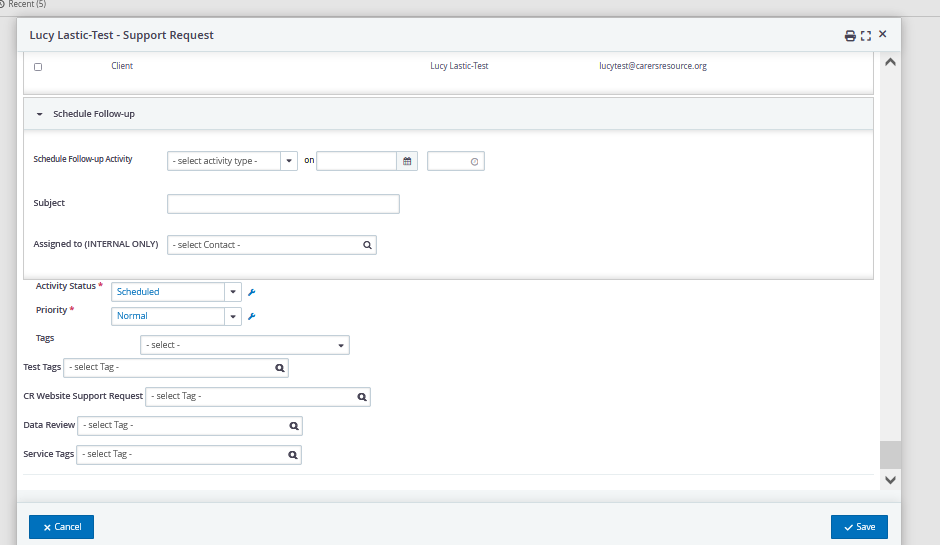
- Edit the Support Request Activity
- In the new window, locate the support request activity and select "Edit".

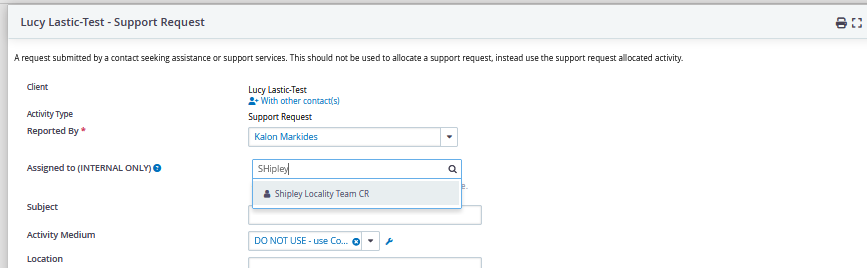
- In the "Assigned to (INTERNAL ONLY)" field:
- Click the "X" to remove the current contact.
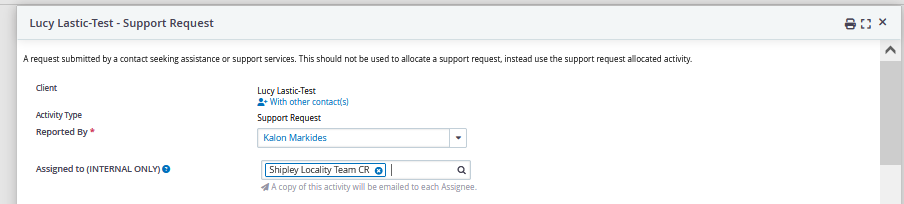
- Start typing the name of the team you wish to reassign to and select it from the list.
Update the "Support Request" Section:
- Expand the "Support Request" section if necessary by clicking it.
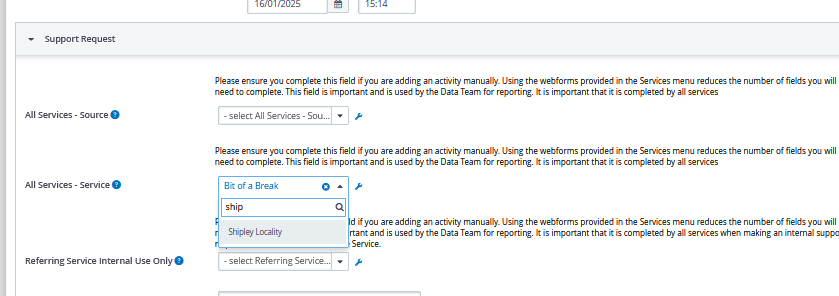
- In the "All Services - Service" field:
- Click the "X" to remove the current team.
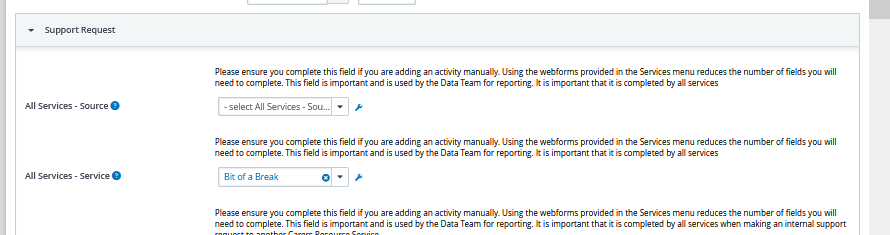
- Select the correct team from the drop-down menu.
- Save Changes:
- Press "Save" to confirm your updates.
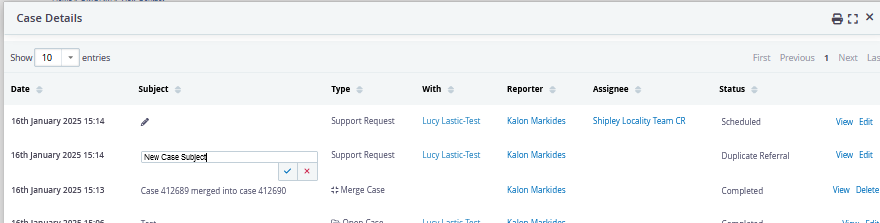
- Optional: Change the "Activity Subject":
- Hover over the "Activity Subject" field, click into it, and type the new subject.
- Press the blue tick to save the updated subject.
- Navigate to the "Cases" Tab:
- Once you are on the contact record, navigate to the "Cases" tab on the left-side menu.
- Select the "Manage" button.
- This will open a new tab in your web browser.
- Navigate to the "Roles" Section:
- In the newly opened tab, find and navigate to the "Roles" section. *Note you will need to make sure the "Show Inactive Relationships" checkbox is not checked.
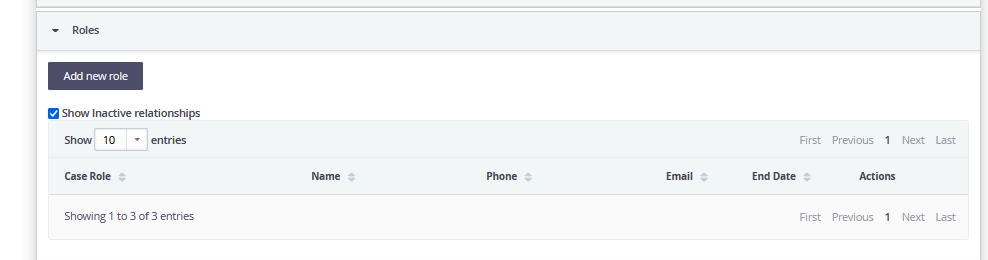
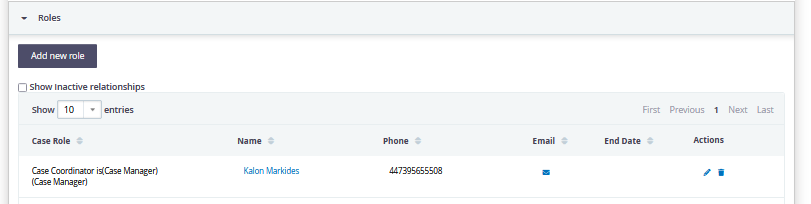
Check for a Case Coordinator Role:
- Check that there is a Case Coordinator Role assigned.
- If you do not see a Case Coordinator Role, follow the next steps.
- Add a New Role (if needed):
- Press the "Add New Role" button.

- Assign the Case Coordinator Role:
- Select the Relationship as "Case Coordinator Is (manager)".
- Choose yourself (if you are the Case Coordinator) or select the person you want to assign as Case Coordinator.
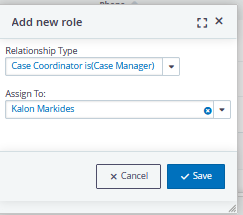
- Save the Changes:
- After selecting the appropriate person, press "Save".
- If you do see a Case Coordinator Role, follow the next steps.
- Navigate to the "Actions" column press the blue pencil

- From the new menu find the contact you wish to reassign the case to
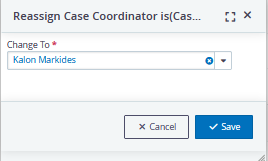
- Save the Changes:
- After selecting the appropriate person, press "Save".